Use a lightweight carry tray for a table activity
A small carry tray can keep the materials for one table activity together from setup through cleanup. Choose an existing tray, add only the supplies needed for that session, and return them together afterward. The useful boundary is one activity, not every object that happens to be nearby. This original household method applies the general reuse principle described by the EPA; the agency does not prescribe this particular tray system.
Define one ordinary activity
For a paper collage session, the working set might be a pencil, a glue stick with its cap, a few paper shapes, and a small notebook. Start with that list before choosing a container. A tray that looks attractive but does not hold the notebook flat may make the task harder. Use a sound, clean tray you already own if it is suitable. There is no need to buy a matching organizer to test the idea.
Place the supplies on the tray while it sits on a stable surface. Leave space around the edge so an item does not balance on the rim. Keep the load light enough to carry comfortably with both hands. This example excludes hot liquids, sharp loose tools, heavy equipment, and fragile items. Those require handling decisions beyond a simple paper-activity setup. A shallow tray is useful only when its contents can stay controlled during an ordinary short move.
Make the destination ready first
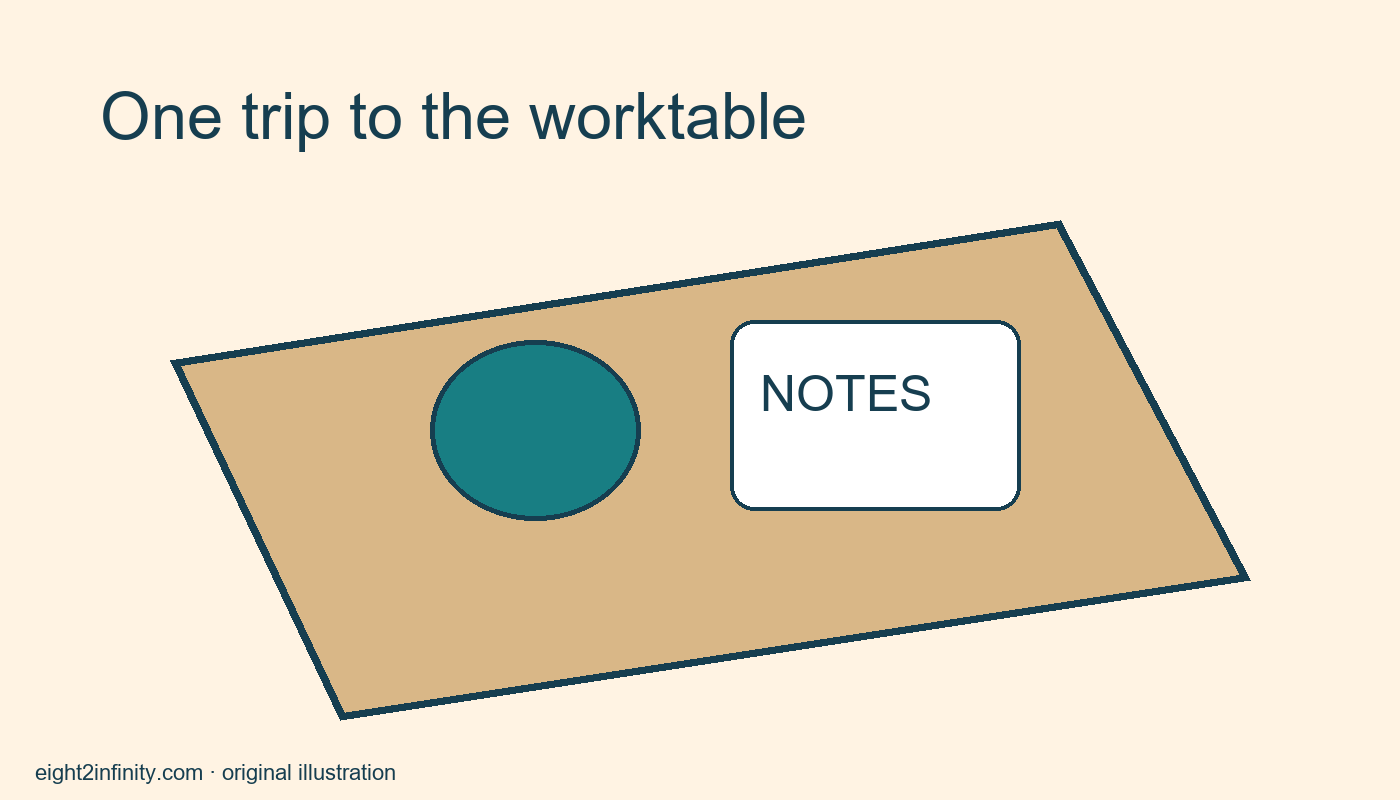
Clear a landing space on the activity table before lifting the tray. A tray does not create room at the destination, and a stack of unrelated papers is not a stable landing surface. Move the materials along a clear route and set the tray down before taking items out. If a door must be opened or an obstacle moved, deal with that first rather than trying to manage it while balancing supplies.
At the table, use the tray as a defined return point. Keep its central area available instead of filling it immediately with unrelated objects. A glue-stick cap belongs beside the glue stick while you work, and both belong back on the tray when the session ends. The boundary makes missing pieces more noticeable. It does not guarantee that nothing will be lost, so inspect the table and floor during cleanup.
Work through a small example
Imagine that the notebook and pencil begin on a bedroom shelf, while the paper shapes and glue stick sit in a craft drawer. Gather those four types of material onto the tray before starting. At the table, spread out only the shapes you are using. Leave the remaining shapes together so they do not mix with scraps. When finished, put the pencil, capped glue stick, notebook, and usable shapes back in their places on the tray.
Now compare that process with carrying every item separately. The tray may reduce the number of small trips in this particular layout, but no fixed time saving is promised. If the tray needs awkward balancing or occupies most of the table, it may be the wrong size. The test is whether the activity becomes easier to start and finish in your actual space. Keep the arrangement that works, even if it is simpler than the imagined setup.
Give leftovers an explicit destination
Usable paper shapes can return to their storage envelope. Tiny unsuitable scraps can go to the appropriate local waste stream, following local rules. Put the notebook back on its shelf rather than leaving it on the tray indefinitely. The tray should be empty or intentionally prepared for the next session, not a holding area for every decision you postponed. A return routine is what keeps a useful container from becoming another pile.
If several people share the activity, tell them which objects belong on the tray at the end. A short spoken instruction may be enough for a one-time session. For a repeated activity, a simple contents note can help: pencil, capped glue stick, notebook, paper envelope. Avoid a long inventory for a tiny kit. The note should answer a real question, such as whether the pencil is still on the table, rather than create administrative work.
Adjust after one session
Inspect which items you actually used. If the notebook never left the tray and served no purpose, leave it out next time. If loose paper slid around, use an existing envelope that fits inside the tray. Do not solve every inconvenience by adding another container. Each extra object takes space and adds another cleanup step. Change one thing at a time so you can tell whether the adjustment helps.
If the tray is borrowed from another household use, return it clean and ready for that purpose. Do not quietly convert a shared serving tray into permanent craft storage without agreement. Reuse works best when the new arrangement does not create a problem elsewhere. Likewise, avoid writing permanent labels until you know the system is worth keeping. A removable note is enough during the trial.
Try the method yourself
Choose a ten-minute paper task and list its required materials. Prepare a light tray, clear a landing space, complete the task, and return each supply to its storage location. Then write down the one moment that felt awkward. Was it collecting materials, carrying them, finding room, or putting them away? That observation tells you what to change next. Which item could you remove from the tray without making the activity harder?