Store reusable drawing stencils with a labeled sample outline
Trace one recognizable outline from each reusable drawing stencil onto a labeled sheet, then store the stencil behind that sheet in a folder or sleeve that fits it. The sample helps you identify the tool without pulling every stencil out. Keep any original size or product markings visible. This method suits ordinary craft stencils you already own; it does not turn a decorative stencil into a precision measuring instrument.
A stack of translucent sheets can be surprisingly difficult to search. The holes overlap, colors obscure each other, and a small star or lettering guide may disappear behind a larger sheet. A sample index makes the shapes visible on plain paper while preserving one clear storage location for each stencil. Begin with three tools so you can test whether the extra sheet actually helps before indexing a whole collection.
Select and inspect a small group
Gather a few clean, dry stencils from the same activity area. Lay them separately on a clear surface and check for bent edges, cracks, or rough sections that could catch paper. Follow the maker's cleaning and handling guidance if you find residue. Do not use a blade to enlarge an opening or reshape a damaged tool as part of this organizing exercise.
Separate tools that look similar but do different jobs. A lettering stencil and a geometric template may both contain circles, yet one belongs with title-making materials while the other supports drawing practice. Decide which task you are trying to make easier. That decision will influence the folder label and the sample outline more usefully than simply sorting the sheets by color.
Make a recognizable sample
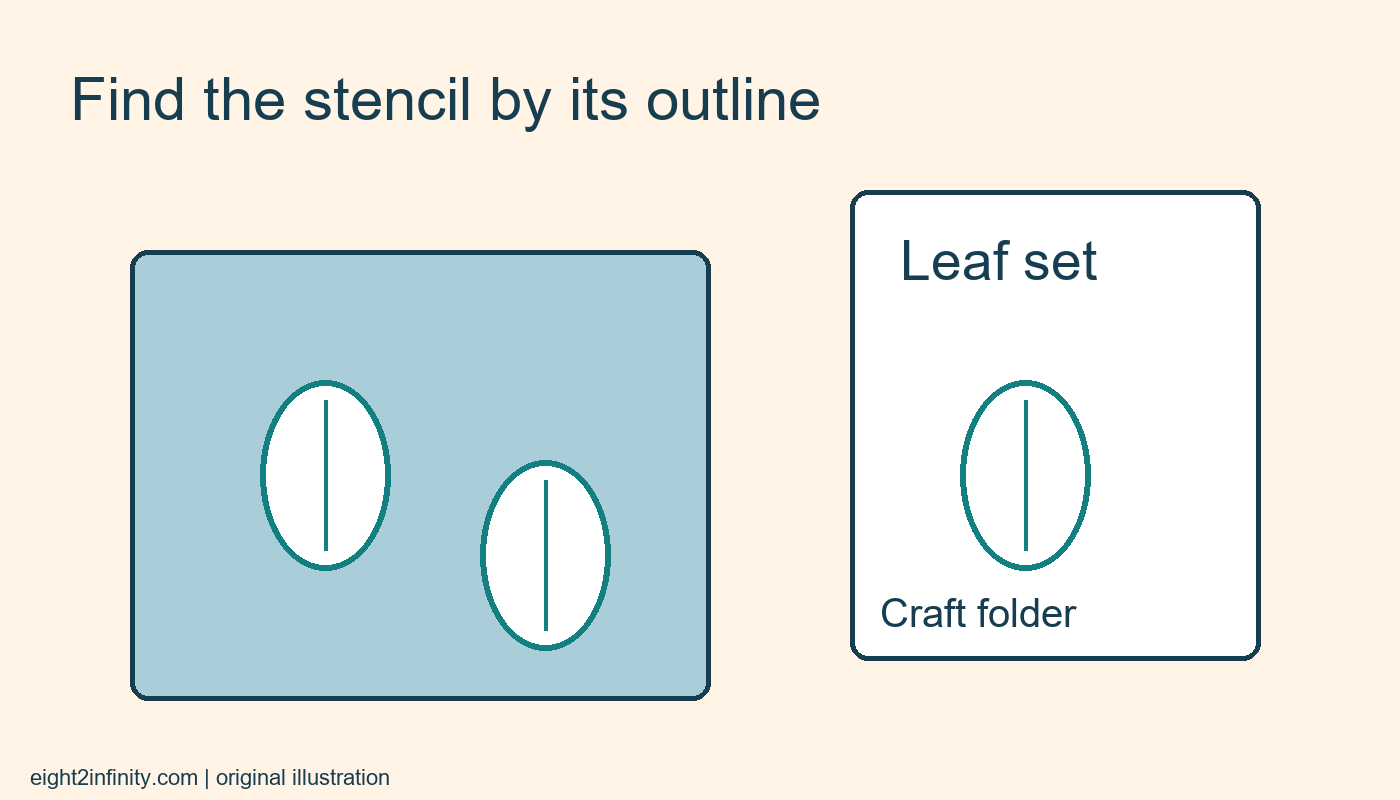
Place a stencil on scrap paper and trace one or two representative shapes with a pencil. Choose an outline that distinguishes it from the others. For example, a sheet containing several leaf shapes could have one large leaf traced beside the words Leaf set. A lettering guide could show a short sample such as ABC. There is no need to reproduce every opening if a small sample identifies the tool reliably.
Trace on a flat surface and keep fingers away from any damaged edges. Use light pressure so you do not buckle a thin stencil. If the outline is hard to see, darken the paper drawing afterward with the tool removed. The goal is a readable index, not a perfect artwork. You should be able to recognize the stencil from the sample at a quick glance.
Record useful details honestly
Write a plain name, the storage location, and any verified marking you actually need. A label might read Leaf set, green craft folder, sheet 2. If the tool carries a size marking, copy it accurately and include its unit. Do not infer that a traced shape has an exact dimension merely because it looks close to a ruler measurement on your sample page.
If the stencil has no known scale, say Unscaled decorative outline when that distinction matters. A drawing sample can stretch or shrink if later copied or printed, so it should not become a replacement calibration reference. For ordinary craft selection, shape identity is enough. Keeping that purpose clear prevents an organization aid from gaining an unintended technical role.
Choose a storage arrangement
Use an existing folder, envelope, or sleeve large enough that the stencil lies flat without being forced. Put the labeled sample in front and the matching stencil behind it. If a sleeve is transparent, check that the index remains readable rather than disappearing against the holes. Avoid attaching sticky labels over working openings or any manufacturer's information you may need later.
For several stencils sharing one compartment, give each sample an obvious order. You might file Leaves, Letters, and Stars alphabetically, or group them by the activities where they are used. Keep the rule simple enough that someone can return a stencil after a craft session. If the system requires a separate chart to interpret every position, reduce the number of categories.
Keep sets and loose tools distinct
A purchased set may contain several related sheets. Preserve any original list or packaging description if it helps identify what belongs together, but do not claim the set is complete unless you have checked it. Write Three sheets currently stored rather than Complete set when you do not know the original contents. The index should describe what is present, not imply a verified product inventory.
If one loose stencil belongs to no known set, give it its own descriptive entry. You do not need to reconstruct its history before making it findable. Conversely, avoid combining unrelated stencils permanently just because they fit in one sleeve. Physical convenience and meaningful grouping should work together, especially when you expect another person to use the materials.
Try a find and return cycle
Close the folder and choose a task such as Find a leaf outline for a card. Use only the labels and sample pages to locate the tool, then return it after tracing. If you still have to empty every sleeve, make the sample more distinctive or move its label to a more visible position. Test again before indexing additional tools.
EPA encourages reusing useful materials where appropriate; the sample-outline filing method is an original household organization suggestion. It does not replace product instructions or promise longer tool life. Your exercise is to make three sample pages and note which one is hardest to recognize. Would a clearer name, a second outline, or a different storage order solve that specific problem with the least additional work?