Make a simple reading bookmark from clean packaging card
A clean, flat piece of thin packaging card can become a useful reading bookmark with a ruler, pencil, and scissors. Choose a smooth piece, cut a narrow rectangle, soften sharp corners, and check it inside an ordinary book before decorating it. Keep the bookmark thin and flat so it marks a place without forcing the book open. This is a small reuse project, not a way to preserve valuable books or make archival storage materials.
Choose a suitable piece of card
Use packaging that is clean, dry, and free of food residue or strong odors. A plain section from a lightweight carton can work well. Avoid staples, exposed adhesive, raised decorations, or rough torn edges that might catch a page. If the printed surface transfers color when handled, choose another piece. The EPA supports reuse broadly; the dimensions and reading checks in this project are an original household method rather than specifications supplied by the agency.
Select an ordinary book for testing. Do not experiment first in a rare, fragile, borrowed, or valuable volume. A bookmark should be easy to remove and should not leave marks. Thick corrugated cardboard is usually awkward for this small task because it holds the covers apart. A flexible strip of smooth card is a better starting point. If the material feels too stiff to follow the book gently, save it for a different craft rather than forcing it to serve as a bookmark.
Measure a practical rectangle
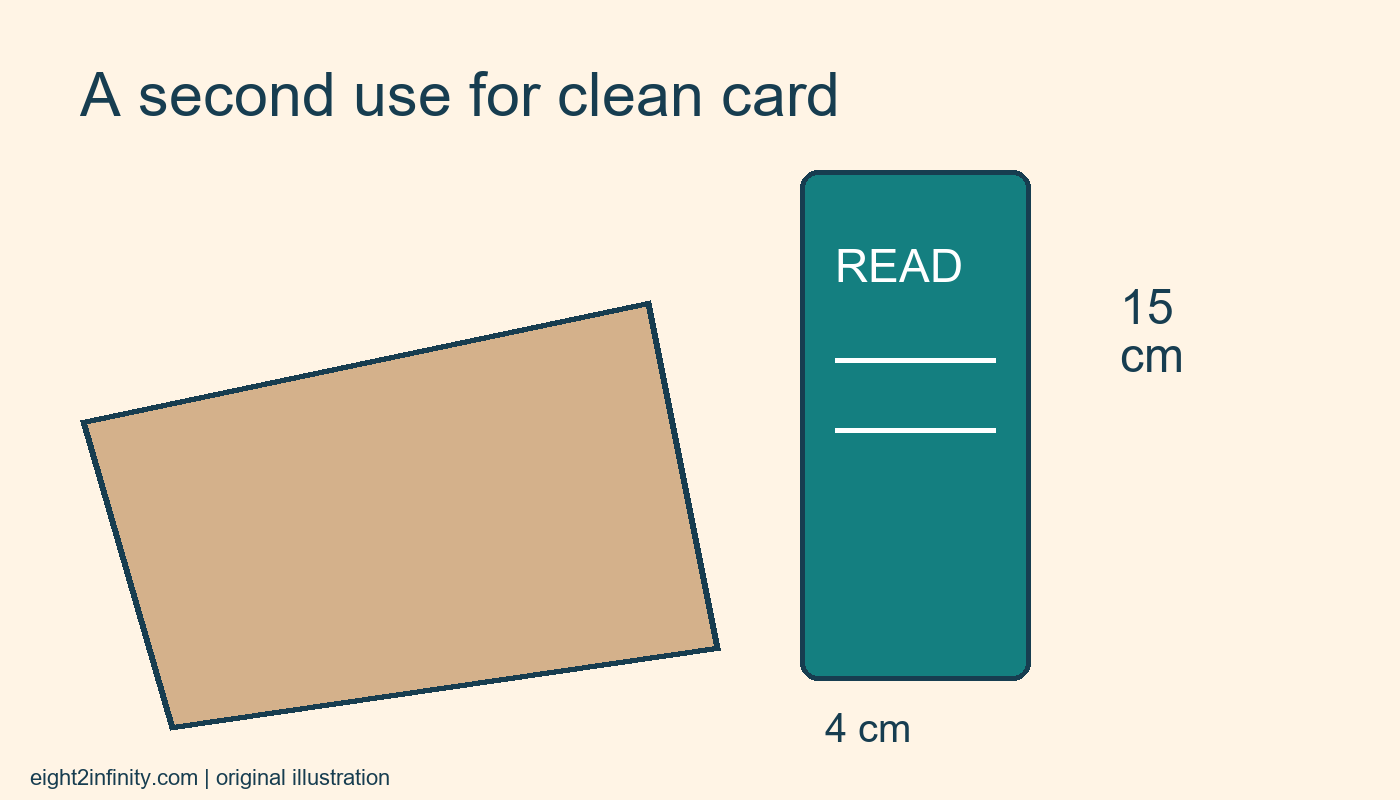
For a first attempt, mark a rectangle about 4 cm wide and 15 cm long. These are suggested practice dimensions, not a universal standard. A small paperback may suit a shorter strip, while a large workbook can accommodate a longer one. Draw the rectangle on the unprinted side if that makes the pencil lines easier to see. Use a ruler for both long edges so the finished strip does not become unexpectedly narrow at one end.
Place the rectangle so that useful printed information or an attractive pattern falls inside it, if possible. Avoid including personal addresses or delivery labels from shipping material. A bookmark can be seen by other people when it rests on a desk or protrudes from a book. Removing private information now is simpler than remembering to hide it later. If no clean area is large enough, make a smaller bookmark rather than joining several thick layers with bulky tape.
Cut and smooth the outline
Cut slowly along the pencil lines with scissors suited to the material. Keep the hand holding the card clear of the cutting path. Younger makers should have appropriate adult help. Trim off rough slivers rather than leaving a ragged edge. Slightly round the four corners with small cuts so they are less likely to snag a page. You do not need perfect decorative curves; a modest softening of each point is enough for the reading check.
Brush away loose paper fibers and erase visible pencil lines if the surface allows it. Do not sand a printed coating or add sprays to make it feel smoother. If the edge remains rough, use a cleaner piece of card. Test the strip between two pages and close the book gently. The bookmark should lie flat without a bulky lump. Leave a small portion visible at the top or remember its position, depending on the book and how you carry it.
Decorate without adding bulk
A small drawn motif or a short reading note is enough. Use a dry medium that does not transfer to facing paper, and let any ink dry fully before testing again. Avoid wet paint, loose glitter, heavy buttons, and raised stickers. These can shed, stick, or press into a page. If you want a tassel, consider whether the extra attachment is actually useful; a plain strip is often easier to carry inside a closed paperback.
An original idea is to write a short question on the back: What changed in this chapter? It can prompt a moment of reflection when you stop reading. Leave enough blank space for the bookmark to remain visually calm. Do not turn it into a dense reading log that requires writing against a book page. Keep notes on separate paper if they need frequent updates. The bookmark's main job is simply to return you to the correct place.
Check it during ordinary use
Use the bookmark for one reading session, then inspect the facing pages and the strip. Look for transferred ink, bent corners, or fibers coming loose. If the material curls, replace it rather than pressing it hard between valuable pages to flatten it. A homemade bookmark is easy to remake, and a poor material choice does not need an elaborate repair. Store spare strips flat so the next one is ready without another full measuring session.
For a practical exercise, make two sizes from the same clean panel and try them in two ordinary books. Which one stays visible without protruding so far that it bends in a bag? Which width feels comfortable when you turn the page? Keep the better fit and repurpose the other strip for a label or another suitable task. The useful result is a bookmark you reach for naturally, not a collection of decorated pieces that are too bulky or delicate to use.