Make a reusable envelope for paper craft patterns
Keep flat paper craft patterns together in a reused envelope that is slightly larger than the folded sheets. Label the outside with the project name and a simple contents list, then test whether the pieces can be removed without tearing. This is a small reuse project for ordinary nonconfidential craft papers. It is not a preservation method for valuable originals or a substitute for archival storage when long-term conservation matters.
The US Environmental Protection Agency encourages reducing waste and reusing materials. The envelope method here is an original household application of that broad principle, not an EPA specification for craft storage. Start with a clean, dry envelope that you already have. If none fits, use an existing folder instead of buying supplies merely to complete the exercise. The useful outcome is a retrievable set of patterns, not a perfectly decorated container or a claim about a measured environmental saving.
Gather one actual project
Choose a modest project such as paper flower templates. Put all its sheets on a clear table and identify the main pattern, the small petal pattern, and the instruction page. Count them before making a label. For this example there are four sheets: two large templates, one small-pieces sheet, and one instruction page. Keep any tiny loose pieces on their parent sheet or inside a smaller reused pocket so they do not slip out independently.
Check whether each sheet is still useful. Separate duplicates from the master set and identify any handwritten changes before discarding anything. A rough copy may contain the only note about the correct size. If you are unsure, keep it temporarily with a clearly marked review note. Reusing an envelope should not become an excuse to dispose of information without looking at it. The first step is understanding the contents well enough to make an accurate list.
Fit the papers without forcing them
Lay the envelope beside the largest sheet. If folding is acceptable for this project, fold along an existing crease or a blank margin that does not obscure important details. If folding would cross a critical cutting line or scale guide, choose a larger container. Do not compress the sheets tightly just to make an unsuitable envelope work. Leave enough clearance for fingers to grip the papers without pulling at a fragile corner or bending every page on removal.
Slide the full set into the envelope and remove it again. This simple retrieval test reveals an envelope that is too narrow, a flap that catches the contents, or a small piece that disappears at the bottom. Repeat with the envelope resting where you plan to store it. A container that works on a table can be awkward when wedged vertically between books. Adjust the location or container before making the final label, while the set is still easy to inspect.
Write a label that answers real questions
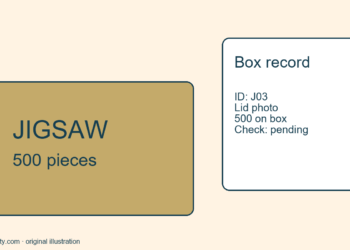
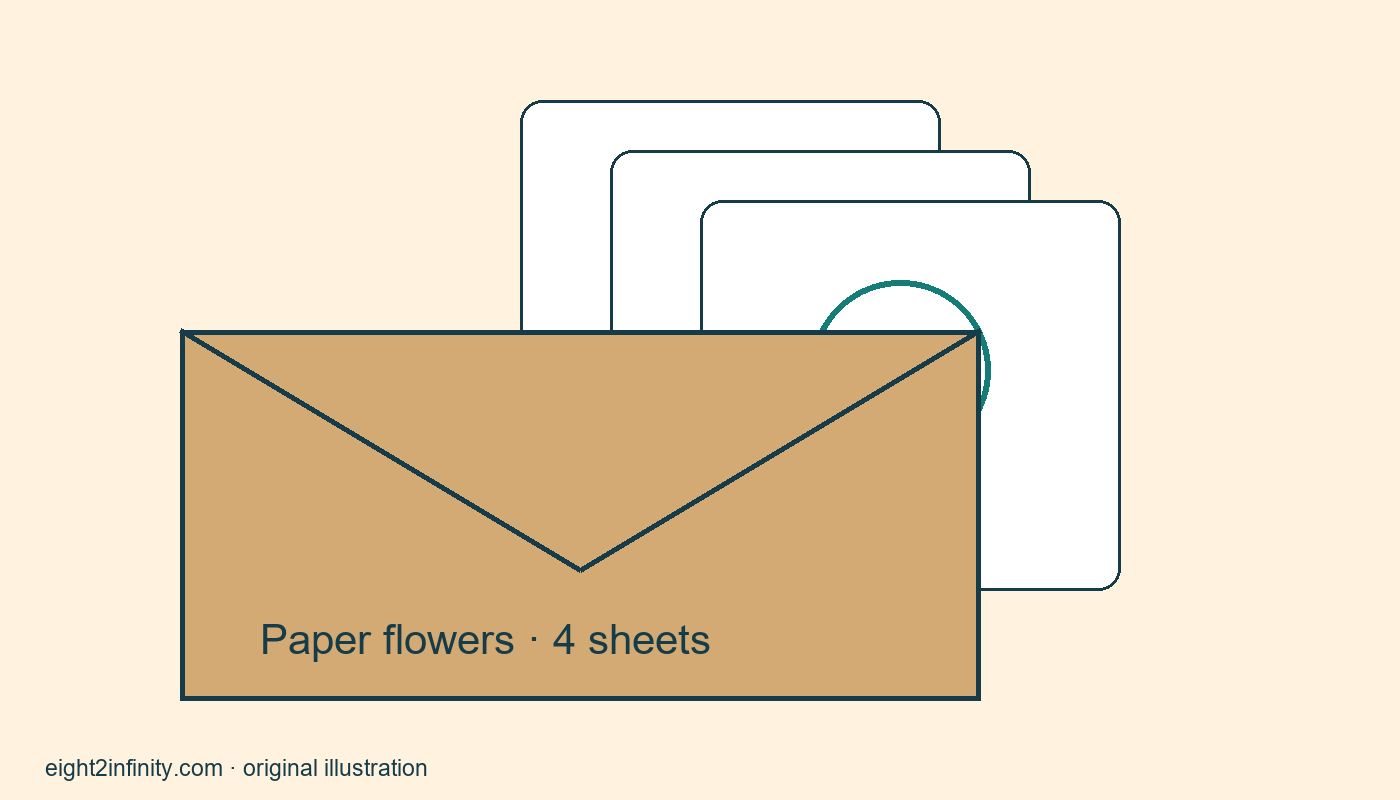
On the outside write Paper flowers, large and small templates, four sheets. Add a date only if it helps distinguish versions, for example Updated November 2026. A date is not a substitute for a description of the actual changes. If one sheet replaces an older version, note that inside the envelope or on a separate contents card. Avoid labels such as Miscellaneous or Craft stuff because they make you reopen the container to learn what it holds.
If an old address or unrelated label is present, cover or remove it appropriately before reusing the envelope. Do not put personal information on the outside unless there is a practical reason. Use an available pen and a plain label rather than adding layers of decorative material that obscure the description. If the envelope is likely to be reused for a different project, put the project description on a removable paper band or a replaceable label area.
Store it where the next step happens
Choose a dry indoor place near your other paper craft materials. Keep the envelope away from liquids and avoid loading a heavy stack on top of delicate patterns. This is ordinary short-term household organization rather than a guarantee against every storage risk. Store the envelope with its label facing the direction from which you will retrieve it. If the shelf is deep, a shallow existing box can keep the envelope from disappearing behind other items.
Make the return action easy. After the next craft session, count the four sheets and put them back in the envelope before clearing the table. If a sheet needs repair or replacement, write that on a small action note instead of leaving the whole set out indefinitely. The container should support the activity you enjoy. It should not create a complicated catalog that takes longer to maintain than the simple pattern set takes to use.
Solve the likely failures
If the flap tears, decide whether the envelope can still contain the papers safely. Replace it with another available container if necessary; do not keep reinforcing a badly fitting envelope just because you already labeled it. If small pieces escape, use a smaller internal pocket and add it to the contents list. If two projects repeatedly become mixed, give them separate labeled envelopes. A system can fail because the category is too broad, not because you need more elaborate storage furniture.
For a quick exercise, ask someone else to find the instruction page using only the outside label. Can they remove it and return all four sheets without asking which pieces belong together? If not, improve the description or fit. Review the set after the next use and keep only the label detail that helped. You have succeeded when the papers remain usable and easy to find, with a reused container serving a clear purpose rather than becoming another anonymous pile.