Make a simple fork crimp on pie pastry
Make a simple fork crimp by pressing the tines of a fork into a prepared pastry edge to create a repeated pattern. Support the edge on the pie plate rim and work around it with consistent, gentle pressure. Follow your chosen recipe for preparing, filling, chilling, and baking the pie. The crimp is an edge treatment; it does not establish that the filling is cooked, prevent every leak, or replace recipe-specific instructions for sealing a double crust.
King Arthur Baking describes a fork crimp among its pie crust finishing methods. This guide develops an original practice sequence around that basic technique. Use the dough and pie plate specified by a reliable recipe, and read that recipe before beginning. Dough thickness, filling type, and baking method can affect the finished edge. There is no universal pressure, chilling time, or baking temperature that can be inferred from a decorative fork pattern alone.
Prepare the edge before adding the pattern
Have the pastry fitted to the plate and the edge prepared according to the recipe. Clear loose scraps from the rim so you can see the working surface. Choose an ordinary clean fork with straight, evenly spaced tines. Keep the fork and your hands suitable for food preparation. You do not need a special decorating tool for this pattern. A familiar fork can produce a recognizable repeated edge when the pastry is in a workable condition.
Look at the full circle before pressing. If one section is much thinner than another, address it using the recipe’s shaping guidance before trying to conceal it with a pattern. A crimp cannot replace missing dough. The edge should rest where the plate can support it rather than hanging unsupported while you press downward. If the dough is becoming very soft or sticky, follow the recipe’s chilling advice instead of repeatedly adding flour or forcing the fork through it.
Test one small section
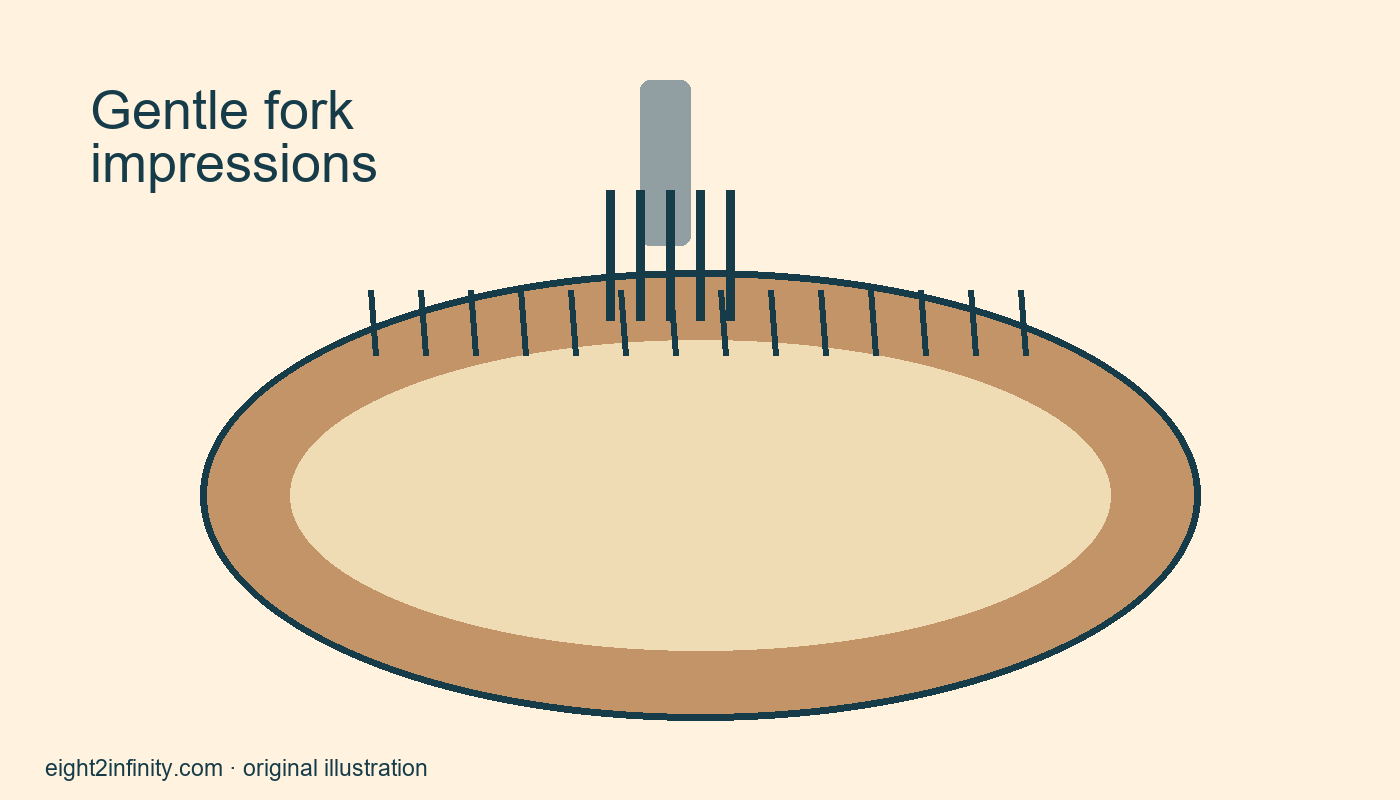
Choose a short section of the edge and place the fork so its tines make marks across the rim. Press gently enough to leave an impression without cutting through the pastry or damaging the plate. Lift the fork cleanly rather than dragging it sideways through the dough. Inspect the result before continuing. If the marks are shallow, a slightly firmer press may help; if the dough tears, reduce pressure and reconsider its condition and thickness.
The goal is a clear repeated texture, not deep slots. Workable dough and a supported edge matter more than force. If pastry sticks to the fork, pause and clean it appropriately. Follow the recipe’s handling suggestions rather than automatically coating everything in extra flour. A practice section gives you information before you commit to the whole circumference. It is easier to adjust one small area than repair a complete edge that has been pressed too aggressively.
Continue with a steady rhythm
Move the fork beside the first impression and repeat with similar spacing. Turn the plate as needed so you can keep a comfortable hand position. Avoid stretching across the pie and pressing at a steep angle merely to reach the far side. A repeated pattern can look attractive without being mathematically perfect. Aim for a continuous band whose marks are similar in depth and direction. Stop periodically to inspect the edge rather than rushing around the full circle without looking.
When you approach the starting point, adjust the last few placements to complete the pattern neatly. Do not press the same section over and over to erase a tiny spacing difference. Excess handling can distort an edge that was already acceptable. If the pie is a double-crust pie, follow the recipe’s separate instructions for joining and sealing the layers. A visible pattern alone does not prove a secure seal, and decorative impressions should not be described as a guaranteed leak prevention method.
Keep decoration separate from baking decisions
If your recipe calls for chilling after shaping, do that before baking. If it calls for an egg wash or another finish, follow its timing and ingredient guidance. Do not add a wash simply because the edge has a fork pattern. Some recipes are designed for a different finish. Keep any recipe-specific allergy or dietary considerations attached to the actual ingredients rather than treating a decorative method as evidence that a pie suits every eater.
Bake using the recipe’s oven setting and doneness guidance. A browned edge can coexist with an underdone base or filling, so do not use the crimp color as the only test. If the edge browns sooner than expected, consult the recipe or reliable baking guidance for appropriate shielding and handling. This article does not set a universal bake time or claim to have tested every pastry formula. Its scope is preparing and evaluating the fork impression.
Learn from the finished pattern
After the pie is baked and cooled as directed, compare the edge with your pre-bake impression. Some definition may soften during baking. Note the dough recipe, the approximate edge thickness described by that recipe, and whether your marks were visible without tearing. A short observation is more useful than declaring the technique failed because the finished pattern differs from a studio photograph. The recipe, dough condition, and handling all contribute to what you see.
For a practice exercise, use a small leftover strip of suitable dough if the recipe and your workflow allow it. Make one gentle impression and one firmer impression, then compare how clearly they mark the dough before baking. Do not eat raw dough. Which pressure makes a readable pattern without cutting through? The useful result is a controlled edge treatment and an understanding of its limits, with the chosen recipe continuing to govern preparation, safe handling, and baking.
Sources and related reading
Check the Butter and Sugar Creaming Step Before Adding Flour