Roll cut out cookie dough between parchment sheets
Rolling suitable cut-out cookie dough between two sheets of parchment can help you handle it without repeatedly adding flour to the work surface. Use the thickness and chilling directions in your chosen recipe. King Arthur Baking describes this method for cut-out cookies; the preparation and checking routine below is an original application. It is not a universal instruction for every dough, and the recipe remains the reference for ingredient proportions and timing.
Start with a recipe that is designed to be rolled and cut. Drop-cookie mixtures, very soft batters, and other dough types may not behave the same way. Check that your parchment is intended for food use and observe its manufacturer's limits if it will later enter the oven. Parchment and waxed paper are not interchangeable assumptions. This article focuses on rolling and handling, with baking temperature and duration left to the actual recipe.
Prepare a surface and a manageable portion
Clear a stable work area large enough for the rolling pin and both sheets. Keep the recipe nearby so you can check the required thickness before starting. Cut parchment pieces that give the dough room to spread while leaving an edge you can hold. A sheet barely larger than the initial dough lump will become inconvenient as the dough widens under the pin.
For an original practice plan, divide a recipe's dough into the portions it recommends, or choose a manageable portion if the recipe permits. Keep the remaining dough under the recipe's specified conditions. Do not assume that leaving the whole batch on the counter for an extended rolling session is harmless. Temperature and handling requirements vary, and the recipe should guide how much you work with at once.
Build the parchment sandwich
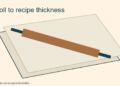
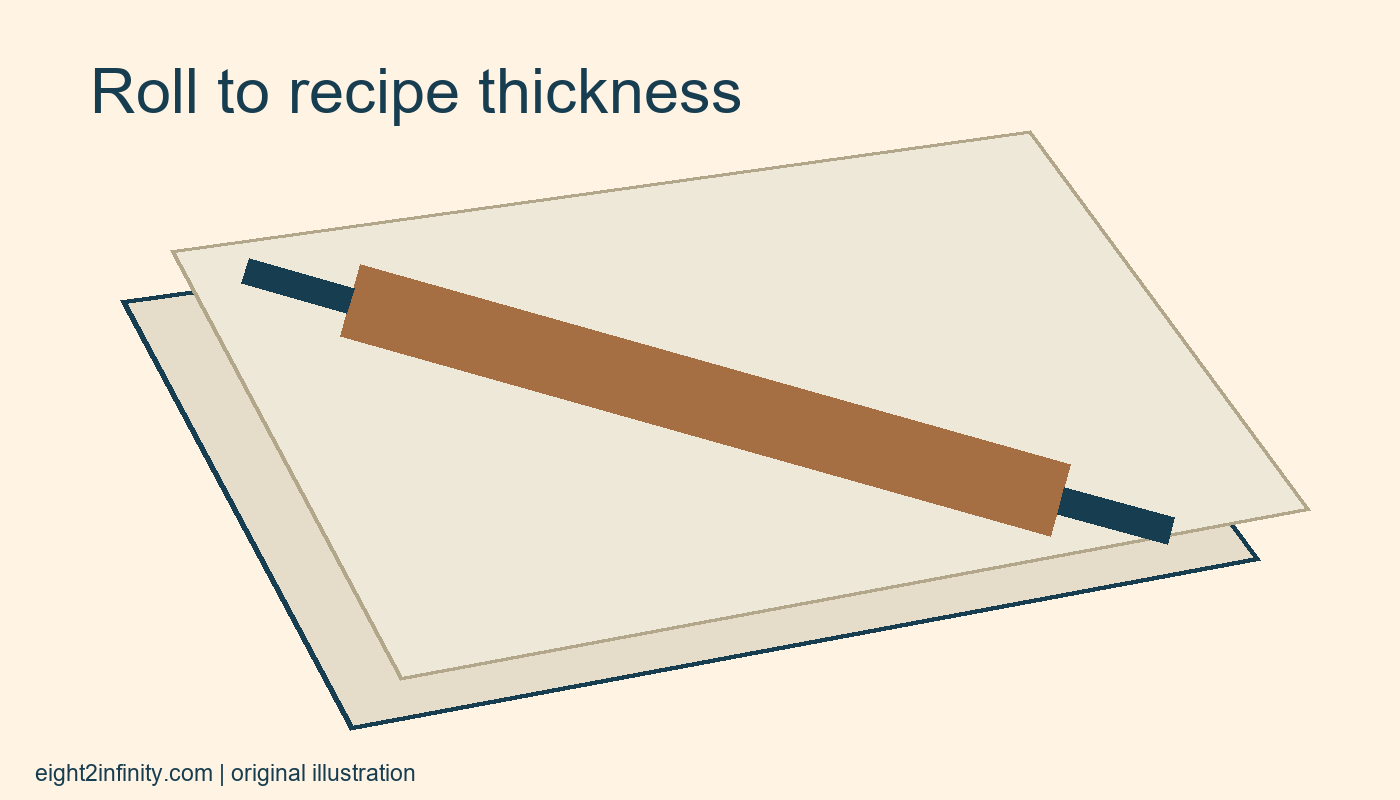
Place one sheet on the work surface, put the dough near its center, and cover it with the second sheet. Press gently with the pin to begin flattening before using longer strokes. Watch the edges so the dough stays between the sheets. If the parchment slides, pause and reposition the setup rather than increasing force until it catches unpredictably against something on the counter.
Roll with controlled strokes, checking thickness across more than one part of the dough. The middle can remain thicker while the edges become thin, especially if you always press in the same place. Rotate or reposition the assembly as appropriate for your setup. Do not pull the parchment hard enough to distort the dough simply to make its outline look symmetrical.
Check the recipe thickness
If the recipe specifies a thickness, use a suitable ruler or rolling guide to check it. Keep measuring tools clean and appropriate for food contact. For a practice example, imagine the recipe calls for six millimeters. Check near the center and at several edges rather than assuming one reading describes the whole sheet. A visibly uneven surface needs attention before you cut shapes from it.
Do not choose a much thinner sheet merely to produce more cookies from the batch. Thickness affects how a particular recipe bakes, and extra thin edges may behave differently from thicker centers. Likewise, a thick sheet is not automatically better because it is easier to lift. Follow the intended result of the recipe and make adjustments deliberately only when you understand what they change.
Peel without tearing the dough
When the dough reaches the required thickness, follow the recipe's chilling sequence before cutting if it calls for one. When ready to uncover it, peel the top parchment back gently rather than pulling straight upward. Observe whether the dough remains on the lower sheet or lifts with the paper. If it is too soft or sticky to handle, stop and follow the recipe's guidance rather than adding flour repeatedly without tracking it.
The parchment method does not eliminate every handling problem. A sticky formulation, warm room, or unsuitable dough can still cause difficulty. Record what you observe and change one relevant condition at a time. Avoid claiming that a particular sheet brand or rolling gesture solves all sticking. The useful skill is recognizing when the dough is ready for the next step and when it needs the recipe's prescribed rest or chill.
Cut and handle the shapes consistently
Cut shapes as the recipe directs and place them with its recommended spacing. Where the recipe allows cutting directly on the parchment, consider whether removing the surrounding excess is easier than lifting each delicate shape. Check the actual recipe and handling method before deciding. Do not assume every paper sheet can be moved to every baking surface without considering its size, support, and use instructions.
Keep scraps together and reroll according to the recipe's guidance. Repeated handling is not a free source of identical dough, so avoid promising that every successive reroll will behave exactly like the first. Use an arrangement of cutters that makes reasonable use of the sheet while leaving enough space for clean cuts. A little planning can reduce awkward narrow scraps without turning the task into a geometric puzzle.
Review the preparation rather than invent results
Before baking, inspect thickness, shape integrity, spacing, and the recipe's chilling requirement. This is the point to correct an obviously folded shape or a patch that is much thinner than its neighbors. Check oven and parchment instructions separately. No finished-cookie test is claimed here; these are preparation checks intended to make your own bake easier to interpret.
For your exercise, roll one recipe-approved portion between parchment sheets and note the specified thickness, how you checked it, and whether the top sheet released cleanly. Compare the center with two edges. What change would you make if the center remained thick while one edge became too thin? Explain the decision using your actual dough and recipe rather than assuming that more flour or more pressure is always the answer.
Sources and related reading
Check the Butter and Sugar Creaming Step Before Adding Flour