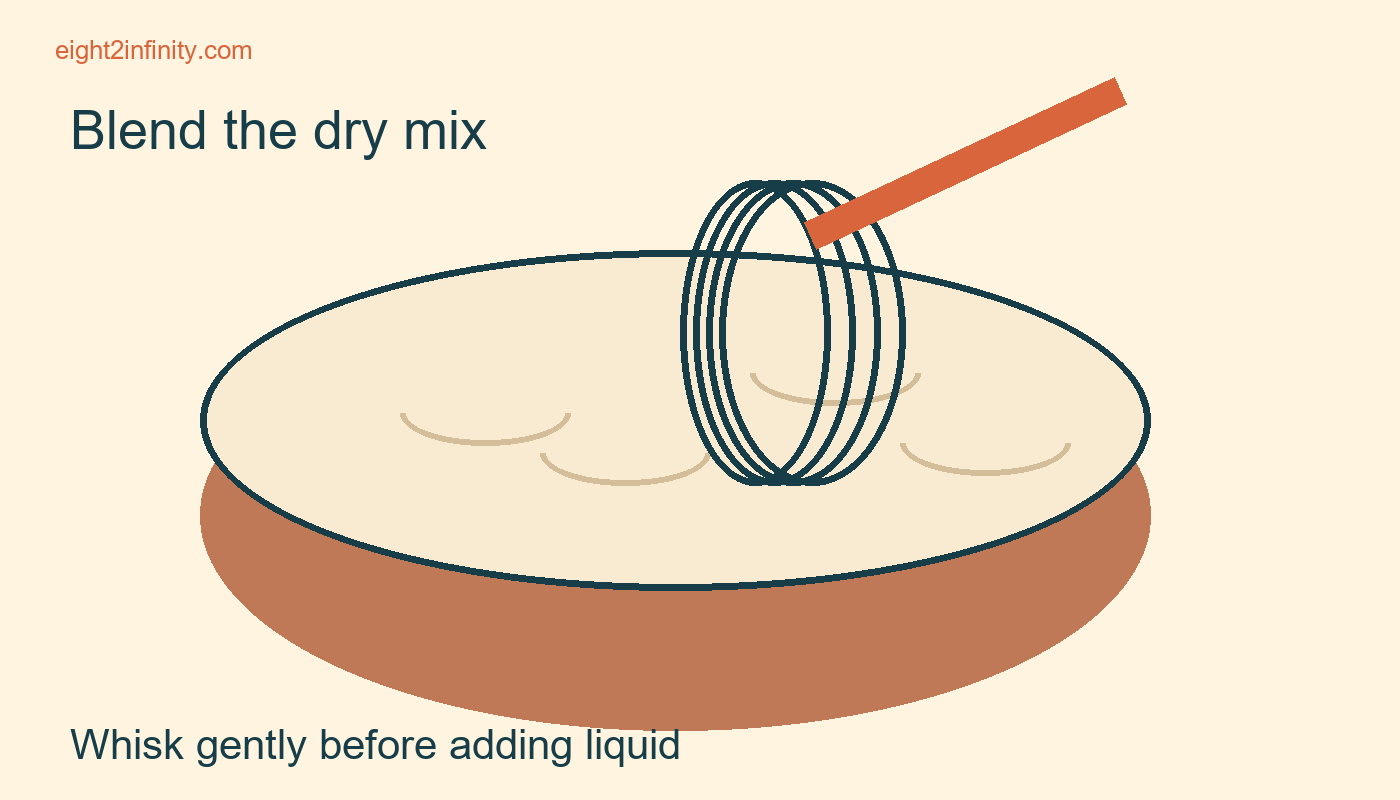
Whisk dry baking ingredients before adding liquid
When a recipe tells you to combine its dry ingredients, whisk them together in a roomy bowl before adding the liquid mixture. Work through the whole bowl, including the edges and bottom, until the mixture looks evenly combined. Follow the recipe's ingredient list and order. Whisking is a mixing step, while sifting addresses lumps and particle size; one is not an automatic replacement for the other in every recipe.
Read the recipe for the actual task
Choose a familiar recipe that explicitly separates dry and wet ingredients, such as a simple muffin recipe. Identify which ingredients belong in the dry bowl and which are added later. Some recipes handle sugar with the wet mixture, cream it with butter, or use another method entirely. Do not move an ingredient into the dry bowl merely because it is physically dry. The recipe's mixing method determines where it belongs.
Before measuring, read any instruction about sifting. Flour that is measured and then sifted is not described in the same way as flour sifted before a volume measurement. Follow the exact wording and use the recipe's weights when provided. This article focuses on combining the already measured ingredients; it does not supply a new formula for replacing the flour, raising agents, sugar, or salt in your chosen recipe.
Choose a bowl with working space
Use a clean, dry bowl large enough for the dry mixture to move without spilling. Set it on a stable surface. A bowl filled almost to its rim makes gentle mixing difficult and encourages flour to scatter. A hand whisk that can reach the base and sides is useful. You do not need an electric mixer for this preparatory step unless the recipe specifically calls for one. Keep nearby liquid containers out of the way while you work.
For an original observation exercise, place a portion of the recipe's flour in the bowl, then add the other dry ingredients exactly as directed. Notice where they land before mixing. A small mound of a fine ingredient on top of the flour illustrates why a single quick turn may leave localized pockets. Do not taste the raw mixture to judge distribution. Use appearance, the movement of the ingredients, and the recipe's instructions to guide this stage.
Mix through the whole volume
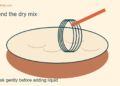
Move the whisk gently through the center, then around the perimeter, lifting material from the bottom as you go. Rotate the bowl if that makes it easier to reach every area. Keep the whisk low enough to avoid throwing powder into the air. The aim is an evenly combined dry mixture, not a performance of fast whisking. Stop occasionally and look for visible streaks, mounds, or material left untouched along the bowl wall.
If the mixture contains a visibly different ingredient, such as cocoa in a recipe that calls for it, uneven patches may be easier to notice. A uniform appearance is a helpful check, but it is not a laboratory proof that every particle is evenly distributed. Do not add cocoa or another ingredient solely to make this demonstration more colorful. Use what the recipe actually requires and keep the observation separate from any untested changes to its formula.
Treat lumps as a separate problem
A whisk may break some small soft clumps, but persistent lumps can require a sieve or the specific preparation directed by the recipe. King Arthur Baking's explanation of sifting distinguishes removing lumps from simply combining ingredients. If your cocoa or another powder is visibly lumpy, address that at the appropriate point instead of trying to solve everything with more aggressive whisking. Inspect the ingredient and follow its storage and recipe guidance if its condition seems abnormal.
Do not force damp or spoiled ingredients into a recipe because you can break them into smaller pieces. Mixing technique cannot correct an unsuitable ingredient. Likewise, adding extra flour to hide an uneven patch changes the recipe rather than completing the mixing step. If you discover that you measured an ingredient incorrectly, resolve that measurement before adding liquids. The dry stage is a useful checkpoint precisely because the components have not yet been committed to a finished batter.
Continue with the recipe's wet mixing method
Once the dry mixture is ready, follow the recipe's directions for combining it with the wet ingredients. The amount of mixing appropriate for the dry bowl does not establish how vigorously you should mix the final batter. Some recipes call for restrained stirring after liquid is added; others use different methods. Read that next step before pouring. An orderly preparation stage helps you follow the intended method without inventing a universal rule for every cake, muffin, bread, or cookie.
Set the whisk aside if the next step calls for a spatula or spoon. Use the appropriate tool to reach the bowl bottom and check for hidden dry pockets as directed. If the finished batter looks different from the recipe description, review measurements and sequence before blaming the whisking time. Without a controlled comparison, you cannot confidently attribute a baking result to one small preparatory action among many variables.
Make a useful observation note
After baking your chosen recipe, write down whether the dry bowl was easy to mix, whether lumps needed separate attention, and whether you followed the stated sequence. Do not label the batch successful simply because you whisked longer. Ask instead whether the preparation was clear and reproducible. Next time, could another person identify which ingredients go in that bowl and when the mixture is ready for the next step? That is a practical improvement you can actually inspect.
Sources and related reading
Check the Butter and Sugar Creaming Step Before Adding Flour