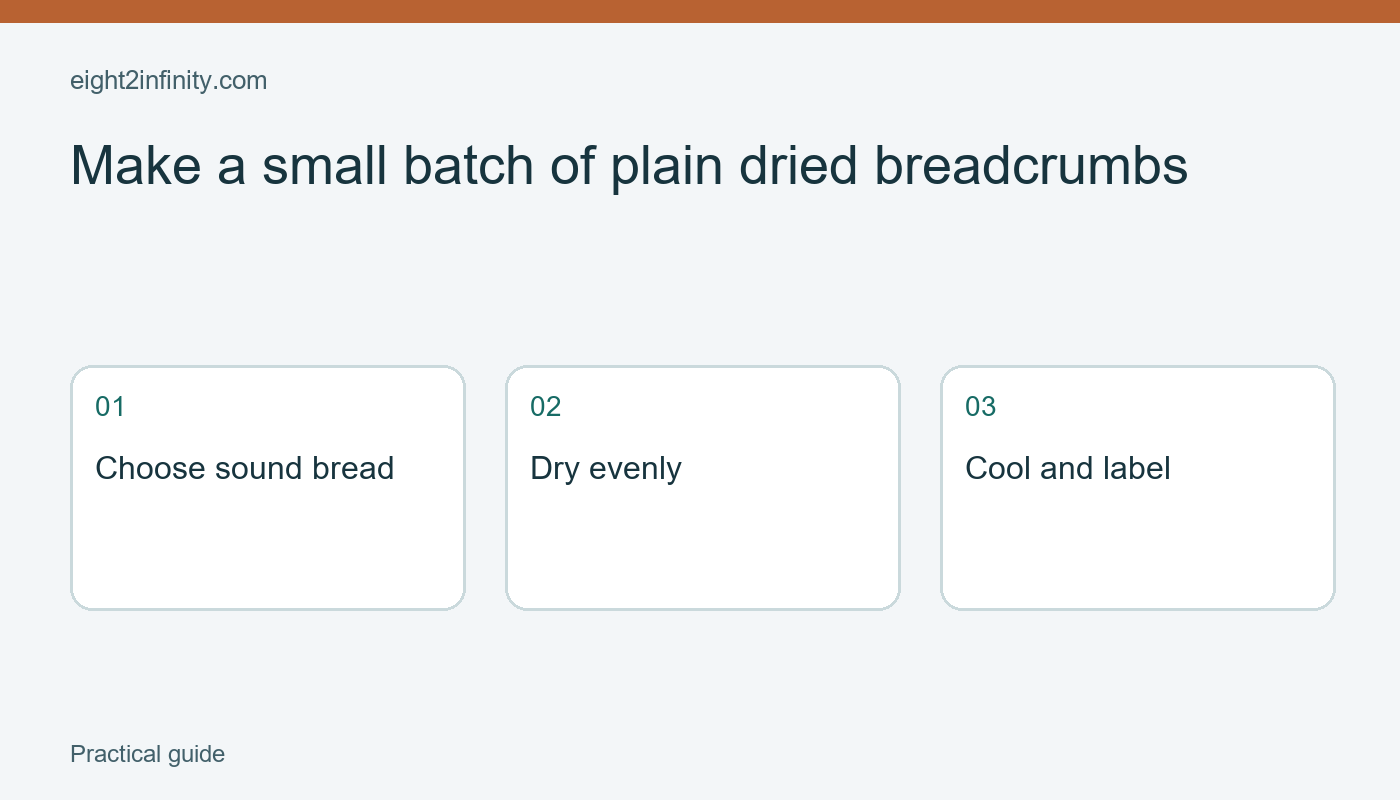
Make a small batch of plain dried breadcrumbs
To make plain dried breadcrumbs, start with sound bread, reduce it to crumbs, spread them evenly, and dry them in the oven using a verified method. King Arthur Baking's stale-bread guide describes drying crumbs at 300°F for about five to fifteen minutes until crisp and dry. Watch the condition rather than relying only on the clock. This article adds an original small-batch planning and observation exercise; it does not establish a shelf life for every bread or storage environment.
Choose bread for the intended use
Use bread that is stale but otherwise suitable to eat. Stale does not mean spoiled. Do not use bread with visible mold or an unusual smell, and do not try to make questionable bread acceptable by drying it. If you are uncertain about its condition, choose another use for a fresh sound loaf instead. Check the ingredients if the crumbs will be served to someone with dietary restrictions. Turning bread into crumbs does not remove allergens or change its ingredient history.
For the practice batch, choose a small amount of plain bread without a filling or topping. A heavily sweetened, seeded, or strongly flavored loaf will produce a different result and may not suit the dish you have in mind. Write down the bread type and intended use, such as Plain crumbs for a later recipe that specifies dried breadcrumbs. Avoid assuming that fresh crumbs, dried crumbs, and coarse commercial coatings are interchangeable in every recipe. Their textures and behavior can differ.
Decide on a consistent texture
Cut or break the bread into manageable pieces. Use a food processor only according to its instructions, keeping hands clear of the blade and disconnecting it before handling removable sharp parts. Pulse to the texture you need rather than running continuously without looking. If you use another method, keep the work contained so the pieces do not scatter. The goal is a reasonably even batch whose small particles will dry at a similar pace, not a combination of powder and large damp chunks.
Inspect the crumbs before they go onto the tray. Separate unusually large pieces for further breaking down rather than burying them in fine crumbs. In an original comparison, imagine two spoonfuls: one mostly uniform and one with several large pieces. The second is harder to assess because the small particles may look dry while the larger ones still need attention. A consistent texture makes the later visual and tactile checks easier to interpret, although it does not guarantee identical drying in every oven.
Spread and dry a small batch
Preheat the oven to the method's specified temperature, 300°F, approximately 150°C, using your oven's appropriate controls. Check the equipment instructions if using a fan setting or a small countertop oven; this article does not supply an automatic conversion for every appliance. Spread the crumbs evenly on a suitable baking sheet in a thin layer. A crowded mound is harder to dry consistently than a spread-out layer. Keep the tray clear of loose paper or other materials not intended for that setup.
Use King Arthur's five-to-fifteen-minute range as a checking framework and observe the actual crumbs. Set an early timer so you do not forget the small batch. Follow the source method and inspect for a crisp, dry result, taking care with the hot tray and oven. Avoid aiming for a dark color simply because browned crumbs look attractive. Plain dried crumbs and deliberately toasted crumbs serve different purposes, and excessive browning can create a flavor that overwhelms the later dish.
Cool before deciding what to keep
Remove the tray with appropriate oven protection and place it on a heat-safe surface. Let the crumbs cool before handling or packing them. Check a representative portion for the intended texture rather than immediately sealing a hot batch in a container. If the result is uneven, note that honestly and consult the method before deciding what to do next. Do not declare the entire batch dry based on a few fine particles from one edge of the tray.
Record the bread type, approximate layer thickness, oven setting, check time, and observed result. These notes describe your own batch without claiming a controlled experiment. If you change the bread or quantity next time, expect the process to need observation again. The source's time range is not a universal guarantee. A compact note such as Fine plain crumbs, thin layer, checked early, cooled before use is more useful than a confident timing rule that ignores the actual material and oven.
Match the crumbs to a recipe
Use the finished crumbs in a recipe that calls for the kind you made, measuring according to that recipe. Do not add a fixed amount to an unrelated dish simply because you want to use the entire batch. If storing leftovers, use a clean appropriate container, label the bread ingredients and preparation date, and follow a trustworthy storage method suitable for dried crumbs and your conditions. This guide deliberately gives no universal room-temperature storage period or safety assurance based on appearance alone.
For a reader exercise, plan a batch small enough for one intended recipe. Before starting, write three checkpoints: sound bread, even crumb texture, and cooled dry result. Afterward, compare the outcome with the recipe's requested texture and note one adjustment for next time. Did the bread's flavor suit the dish, and did the particle size remain consistent? Those observations help you make a practical ingredient from an existing loaf without turning a simple task into an unsupported promise about freshness or storage.