Introduction to Homemade Nutella
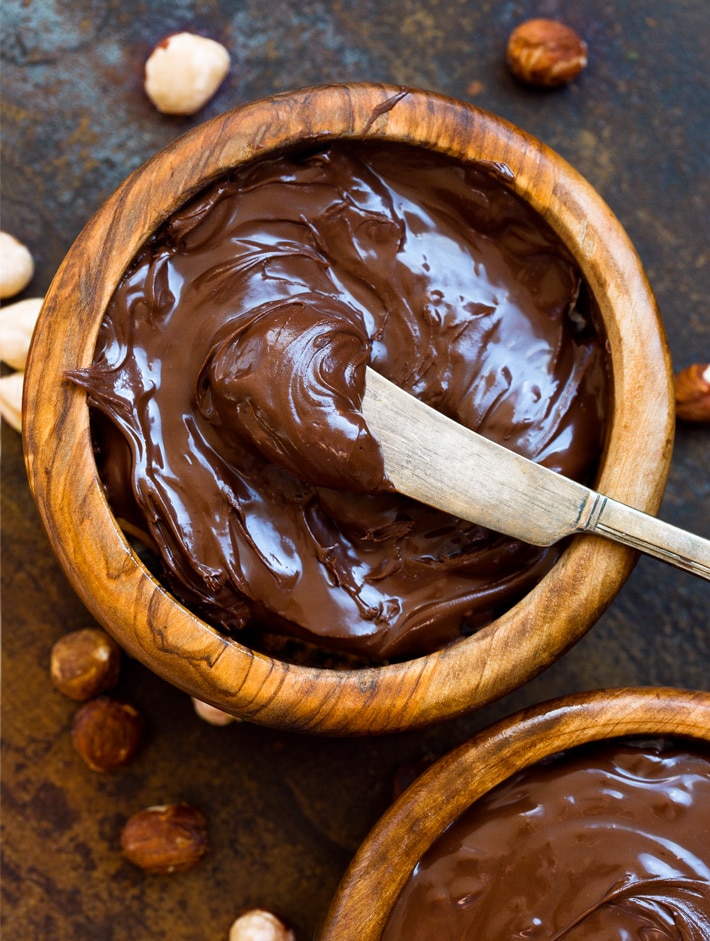
Homemade Nutella offers a delightful alternative to the store-bought versions that many of us have grown accustomed to. The appeal lies not just in its rich, creamy texture and heavenly taste, but also in the control it grants over the ingredients used. By making Nutella at home, you can avoid the preservatives and artificial additives often found in commercial products, ensuring a healthier and more natural option for you and your loved ones.
One of the most significant benefits of creating Nutella from scratch is the ability to select high-quality ingredients. You can choose the best hazelnuts, the finest cocoa powder, and a natural sweetener that suits your taste and dietary needs. This customization allows for a spread that is not only delicious but also tailored to your specific preferences and health considerations.
The simplicity of making homemade Nutella is another compelling factor. With just seven straightforward ingredients and a few basic kitchen tools, you can whip up a batch of this delectable chocolate hazelnut spread in no time. The process itself is both fun and satisfying, offering a sense of accomplishment as you watch the ingredients transform into a smooth, luscious spread.
Moreover, homemade Nutella can be a versatile addition to your culinary repertoire. Spread it on toast, drizzle it over pancakes, or use it as a filling for pastries and desserts. The possibilities are endless, and each spoonful promises a burst of flavor that is both comforting and indulgent.
In essence, making your own Nutella is not just about creating a tasty treat; it’s about embracing a healthier lifestyle and enjoying the process of crafting something truly special. The next sections will guide you through the ingredients and steps needed to make this delightful spread, ensuring that your homemade Nutella is as perfect as can be.
Creating your own homemade Nutella is not only a fun and rewarding experience but also ensures you know exactly what goes into your sweet spread. To get started, you’ll need seven simple ingredients: hazelnuts, cocoa powder, powdered sugar, vanilla extract, salt, vegetable oil, and milk. Each ingredient plays a crucial role in achieving the desired flavor and texture for your homemade Nutella.
Hazelnuts
Hazelnuts are the star of the show, providing that unmistakable nutty flavor. It’s important to choose high-quality, fresh hazelnuts for the best results. Look for nuts that are uniform in size and free of blemishes. Roasting the hazelnuts will enhance their flavor and make it easier to remove their skins, which can be slightly bitter.
Cocoa Powder
Cocoa powder adds the rich chocolatey taste that we all love in Nutella. Opt for unsweetened cocoa powder to control the sweetness of your spread. Dutch-processed cocoa powder can be a good choice as it has a smoother, less acidic taste compared to natural cocoa powder.
Powdered Sugar
Powdered sugar is used to sweeten the Nutella and provide a smooth texture. It dissolves more easily than granulated sugar, ensuring a consistent sweetness throughout the spread. If you prefer a less sweet version, you can adjust the amount of powdered sugar to your taste.
Vanilla Extract
Vanilla extract adds a warm, aromatic flavor that complements the chocolate and hazelnuts perfectly. Use pure vanilla extract for the best flavor, as imitation vanilla can have a more artificial taste.
Salt
A pinch of salt helps to balance the sweetness and enhance the overall flavor profile of the Nutella. Sea salt or kosher salt are good options, as they have a purer taste compared to table salt.
Vegetable Oil
Vegetable oil is included to achieve a smooth, spreadable consistency. Neutral oils like canola or sunflower work best, as they won’t overpower the flavors of the hazelnuts and chocolate. Avoid using oils with strong flavors, such as olive oil.
Milk
Milk is the final ingredient, adding creaminess to the Nutella. You can use dairy milk or a non-dairy alternative like almond or soy milk. Choose a milk that complements the other flavors and provides the desired creaminess.
By selecting high-quality ingredients, you’ll ensure that your homemade Nutella is both delicious and free from unwanted additives. Happy cooking!
Roasting and Preparing the Hazelnuts
Roasting hazelnuts is a crucial step in making homemade Nutella, as it enhances the nutty flavor and ensures a smoother texture. To start, preheat your oven to 350°F (175°C). Spread the hazelnuts evenly on a baking sheet, ensuring they are in a single layer for uniform roasting. Place the baking sheet in the preheated oven and roast the hazelnuts for 10 to 15 minutes. You’ll know they are ready when the skins begin to crack and the nuts emit a rich, toasty aroma.
Once the hazelnuts are roasted, remove them from the oven and allow them to cool slightly. The next step is to remove the skins, which can be done efficiently using a clean kitchen towel. Place the warm hazelnuts in the center of the towel, fold the towel over the nuts, and rub vigorously. The friction will help to slough off the skins. It’s okay if a few skins remain, but try to remove as many as possible for a smoother Nutella.
After the skins are removed, transfer the hazelnuts to a food processor. This will be the base for your homemade Nutella, and the smoother the nuts, the creamier the end product. The roasted hazelnuts should be processed until they form a smooth, buttery consistency, which can take several minutes. Patience is key here, as the nuts will first become a crumbly meal before transforming into a creamy paste. This step is essential in achieving that signature Nutella texture.
By following these steps—preheating the oven, roasting the hazelnuts to perfection, and carefully removing the skins—you lay the foundation for a high-quality homemade Nutella. Properly roasted and prepared hazelnuts are the cornerstone of this beloved spread, ensuring a rich flavor and smooth consistency that rivals store-bought versions.
Blending the Hazelnuts into a Paste
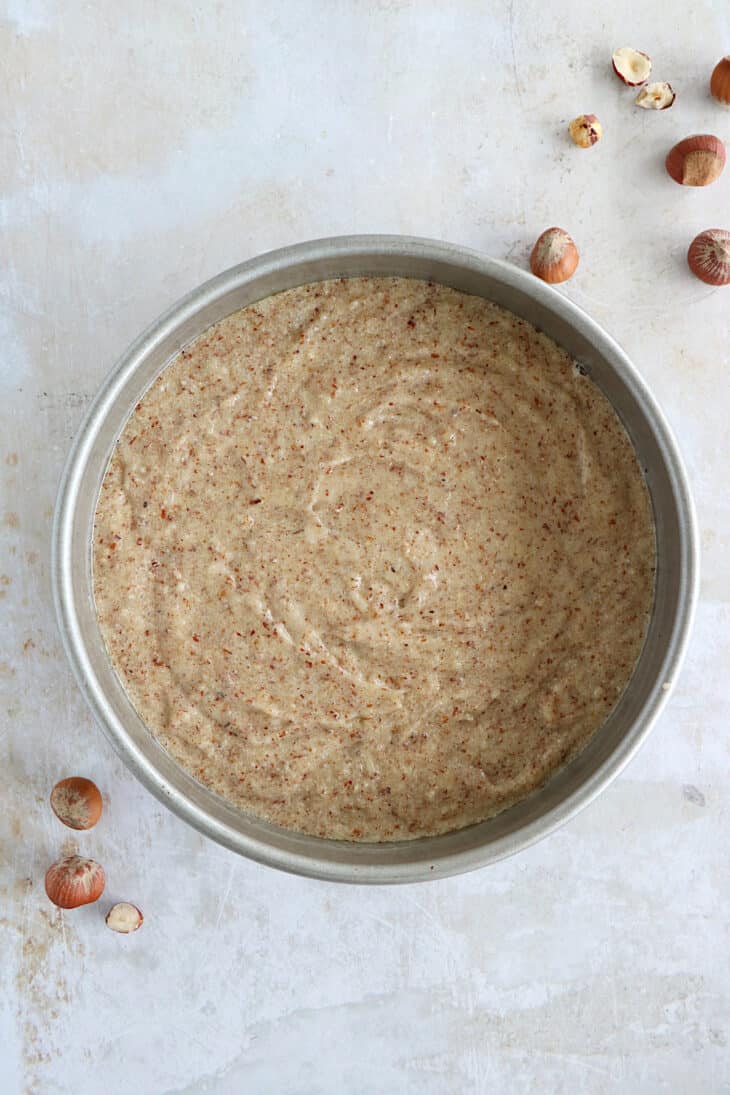
To create the base for your homemade Nutella, you will need to transform the roasted hazelnuts into a smooth paste using a food processor or high-speed blender. Begin by placing the cooled, roasted hazelnuts into the food processor. The key to achieving the right consistency lies in the duration and method of blending. Typically, this process takes around 5 to 10 minutes, depending on the power of your appliance.
Initially, you will notice the hazelnuts breaking down into a coarse meal. As you continue blending, the natural oils will be released, and the mixture will gradually become creamier. It’s essential to pause every minute or so to scrape down the sides of the processor with a spatula. This ensures that all hazelnuts are evenly processed, preventing any chunks from remaining.
Be patient during this step, as a smooth and creamy hazelnut paste forms the foundation of your homemade Nutella. If you find the mixture too thick or dry, you can add a small amount of a neutral oil, such as vegetable or hazelnut oil, to enhance the texture. However, be cautious not to add too much, as this can make the paste overly oily.
Once you have achieved a smooth, buttery consistency, your hazelnut paste is ready. This paste will serve as the primary ingredient for your homemade Nutella, providing the rich, nutty flavor that characterizes this beloved spread. By carefully blending and ensuring an even consistency, you lay the groundwork for a delightful and creamy homemade Nutella that rivals store-bought versions.
Adding the Remaining Ingredients
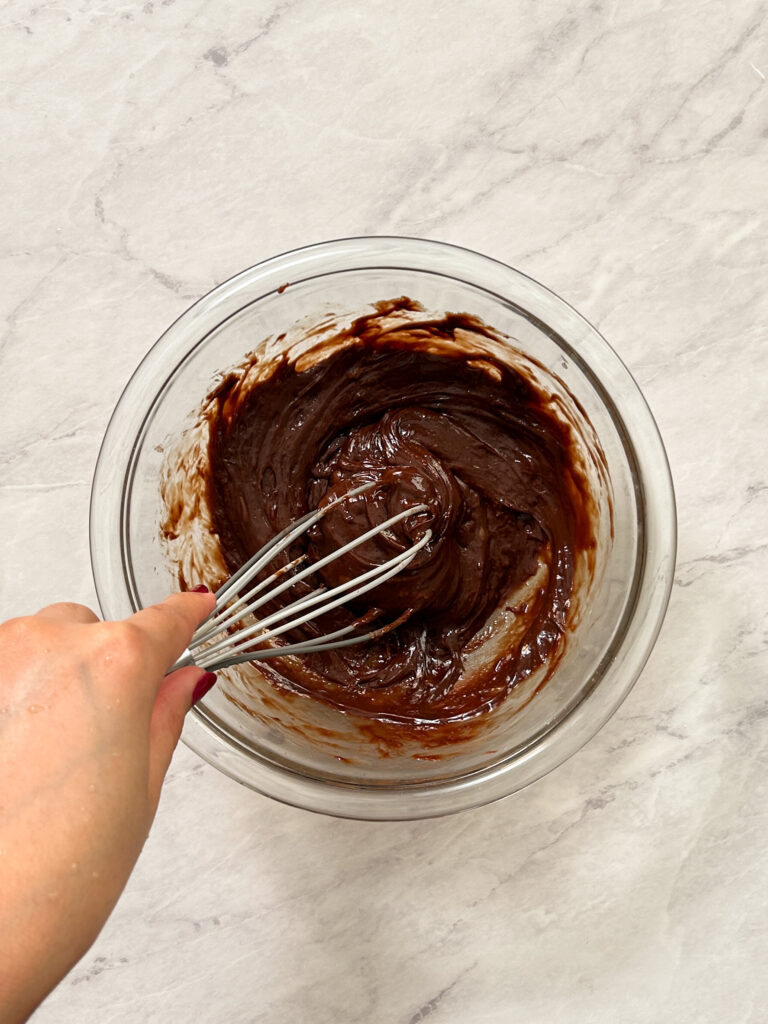
After achieving a smooth hazelnut paste, the next step in making homemade Nutella involves incorporating the remaining ingredients. Begin by adding the cocoa powder first. Cocoa powder is essential for that rich chocolate flavor, so ensure it is of high quality for the best results. Use a fine mesh sieve to sift the cocoa powder directly into the hazelnut paste, preventing any lumps from forming.
Next, introduce the powdered sugar. Sifting the powdered sugar is advisable as it helps maintain a smooth consistency. Gradually add the powdered sugar while mixing continuously. This gradual addition allows for better integration and minimizes the risk of a gritty texture. Adjust the quantity of powdered sugar to suit your desired level of sweetness.
Following the powdered sugar, add the vanilla extract. Vanilla extract enhances the overall flavor profile, providing a subtle yet crucial aromatic note. A teaspoon is typically sufficient, but this can be adjusted based on personal preference. Stir thoroughly to ensure it is well mixed with the hazelnut and cocoa blend.
Incorporate a pinch of salt to balance the sweetness and intensify the chocolate flavor. Salt, though used sparingly, plays a significant role in elevating the taste of your homemade Nutella. Ensure it is evenly distributed throughout the mixture.
The next ingredient is vegetable oil. Vegetable oil contributes to the spreadable consistency of Nutella. Add the oil gradually, mixing continuously until the paste starts to loosen and achieve a silky texture. The amount of oil may vary based on the initial consistency of your hazelnut paste, so add it slowly and observe the changes.
Finally, add milk to the mixture. Milk contributes to the creamy texture that makes Nutella so delightful. Like the oil, add the milk gradually, stirring constantly until the desired consistency is achieved. If the mixture appears too thick, a few extra drops of milk can help achieve the perfect spreadability.
At this stage, taste your homemade Nutella and adjust the sweetness, cocoa, or vanilla if necessary. Personalizing the flavor ensures that your homemade Nutella meets your taste preferences exactly. Stir well to ensure all ingredients are seamlessly blended, resulting in a smooth, luscious spread that rivals any store-bought version.
Achieving the Perfect Texture
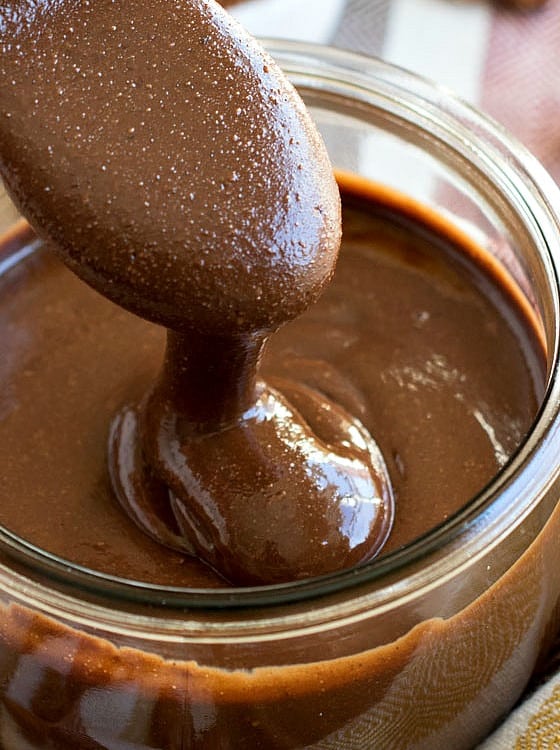
Creating the perfect homemade Nutella hinges significantly on achieving a smooth, creamy texture. To refine your homemade spread, it is essential to ensure proper blending and mixing. Begin by using a high-powered blender or food processor, as these appliances are capable of breaking down the ingredients to a fine consistency. The longer you blend, the smoother the spread will become. It is advised to blend in intervals, allowing the motor to rest and prevent overheating, which could affect the texture negatively.
If the mixture appears too thick, gradually add a small amount of neutral oil, such as vegetable or sunflower oil. This addition helps to thin out the spread without altering the flavor profile. On the other hand, if your Nutella is too runny, you can incorporate a bit more cocoa powder or powdered sugar to absorb excess moisture and thicken the consistency.
Another critical factor is the temperature of your ingredients. Using room-temperature ingredients can facilitate smoother blending. Cold ingredients can cause the mixture to seize up and become lumpy. Ensuring that your hazelnuts are roasted and slightly warm can also aid in releasing their natural oils, contributing to a creamier texture.
Common issues may arise, such as the spread becoming gritty. This often happens if the hazelnuts are not blended long enough. In this case, continue blending until the texture improves. If the spread separates, it can be due to the oil separating from the solids. Simply stir vigorously to reincorporate the oil, or blend again for a more homogeneous mixture.
By paying close attention to blending times, ingredient temperatures, and adjusting consistency with supplementary ingredients, you can achieve a velvety, smooth homemade Nutella that rivals any store-bought version.
Storing and Serving Homemade Nutella
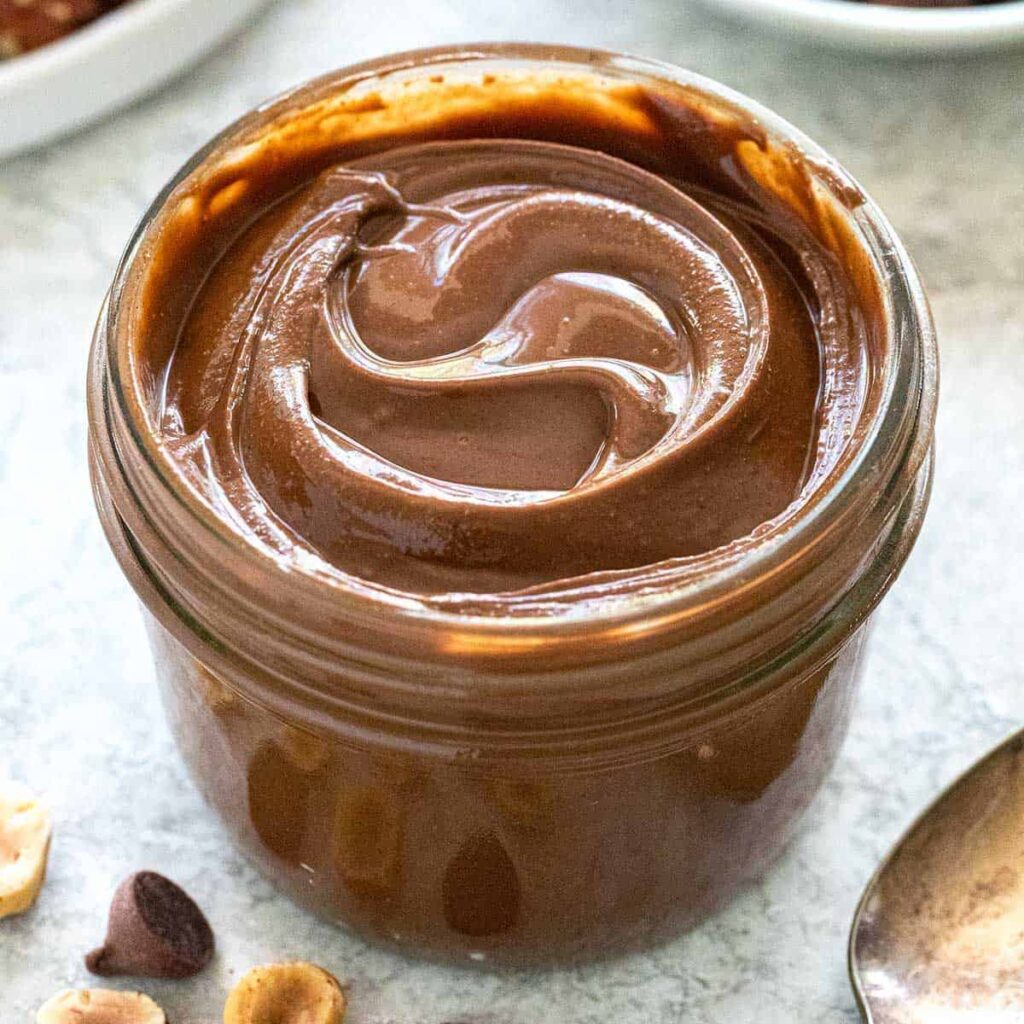
Preserving the freshness and flavor of your homemade Nutella is essential to enjoy its rich, creamy texture and delightful taste over time. To maintain its quality, store your homemade Nutella in an airtight container. Glass jars with secure lids work exceptionally well, as they prevent air and moisture from entering, which could otherwise lead to spoilage. Plastic containers with tight-sealing lids are also a suitable option. Ensure that the container is clean and dry before transferring your Nutella.
For optimal storage conditions, keep your homemade Nutella in a cool, dark place, such as a pantry or a cupboard. Avoid exposing it to direct sunlight or heat sources, as these can cause the oils to separate, affecting the consistency and flavor. If you prefer a firmer texture, refrigerating your Nutella is an option. However, it may become slightly harder and require a bit of stirring before use. If stored properly, homemade Nutella can stay fresh for up to two weeks at room temperature or up to a month when refrigerated.
When it comes to serving, homemade Nutella is incredibly versatile and can elevate a variety of dishes. A classic way to enjoy it is by spreading it on toast, bagels, or croissants for a delicious breakfast or snack. It also makes an excellent dip for fruits such as strawberries, apple slices, and bananas, adding a touch of indulgence to your fruit platter. For dessert enthusiasts, homemade Nutella can be incorporated into numerous recipes. Use it as a filling for crepes, a drizzle over ice cream, or a layer in cakes and brownies. Its rich flavor pairs wonderfully with other ingredients, making it a delightful addition to many sweet treats.
Variations and Enhancements
Creating homemade Nutella offers the perfect opportunity to experiment with various flavors and enhancements, tailoring the spread to your personal preferences. One popular way to customize your Nutella is by adding a hint of cinnamon. The warm spice of cinnamon can elevate the nutty and chocolaty notes, providing a delightful twist to the classic flavor. Simply sprinkle a teaspoon of ground cinnamon into your mixture during the blending process.
For those who enjoy a more robust flavor, consider incorporating a teaspoon of coffee powder. The coffee adds depth and complexity, making the Nutella richer and more indulgent. If you’re feeling adventurous, a small pinch of chili powder can introduce a subtle heat that pairs surprisingly well with chocolate, creating a unique and exciting taste experience.
For individuals who are lactose intolerant or prefer to avoid dairy, making a dairy-free version of homemade Nutella is easy. Substitute regular milk with alternative milk options such as almond milk, coconut milk, or oat milk. These alternatives not only cater to dietary preferences but also add their own unique flavors, enhancing the overall taste of your homemade spread.
If you’re looking to further customize your Nutella, consider experimenting with different types of nuts. While hazelnuts are traditional, almonds, cashews, or even pecans can offer interesting variations in flavor and texture. Additionally, adding a splash of vanilla extract or a pinch of sea salt can further refine the taste, making your homemade Nutella truly unique.
In essence, the beauty of making Nutella at home lies in its versatility. By trying out these variations and enhancements, you can create a spread that perfectly suits your taste, ensuring a delightful and personalized Nutella experience with every bite.


